Planning your own walking route can be a rewarding experience, helping you discover new places or set yourself challenges. Jonathan Elder from Ordnance Survey outlines how to get started.
1. Pick your map
The best maps for planning walking routes in Britain’s countryside are the OS Explorer 1:25 000 scale maps, as these show the most detail. If you’re walking on a National Trail or another larger trail, you can also use the 1:50 000 scale OS Landranger mapping. Ordnance Survey also have an app that you can use to plan out your own routes that also pinpoints your location on the trail. Remember to take a paper map just in case, a powerbank for your phone, and a bivvy bag and some food and water just in case you need to stop for a prolonged period of time.
2. Decide on your route start and length

You probably already have a start point in mind. Choosing an area with more footpaths will generally allow you to plan a circular route, which is more interesting than a straight out and back. Your average walking speed will be around 5km/h (3.1mph). This assumes level ground with easy paths and does not allow for stiles, scrambles, streams or any of the other things you might encounter.
If you are in hills or mountains, you can also use Naismith’s Rule: for each 100m of elevation gain, add 10 minutes to your time. Plan your route length based on the ability of your whole group and the time you have available. Don’t forget to add on time for breaks for refreshments or photos. If you happen to capture any particularly beautiful photos, remember to tag #YHANatureChallenge for a chance to feature on our social media!
3. Plan your route
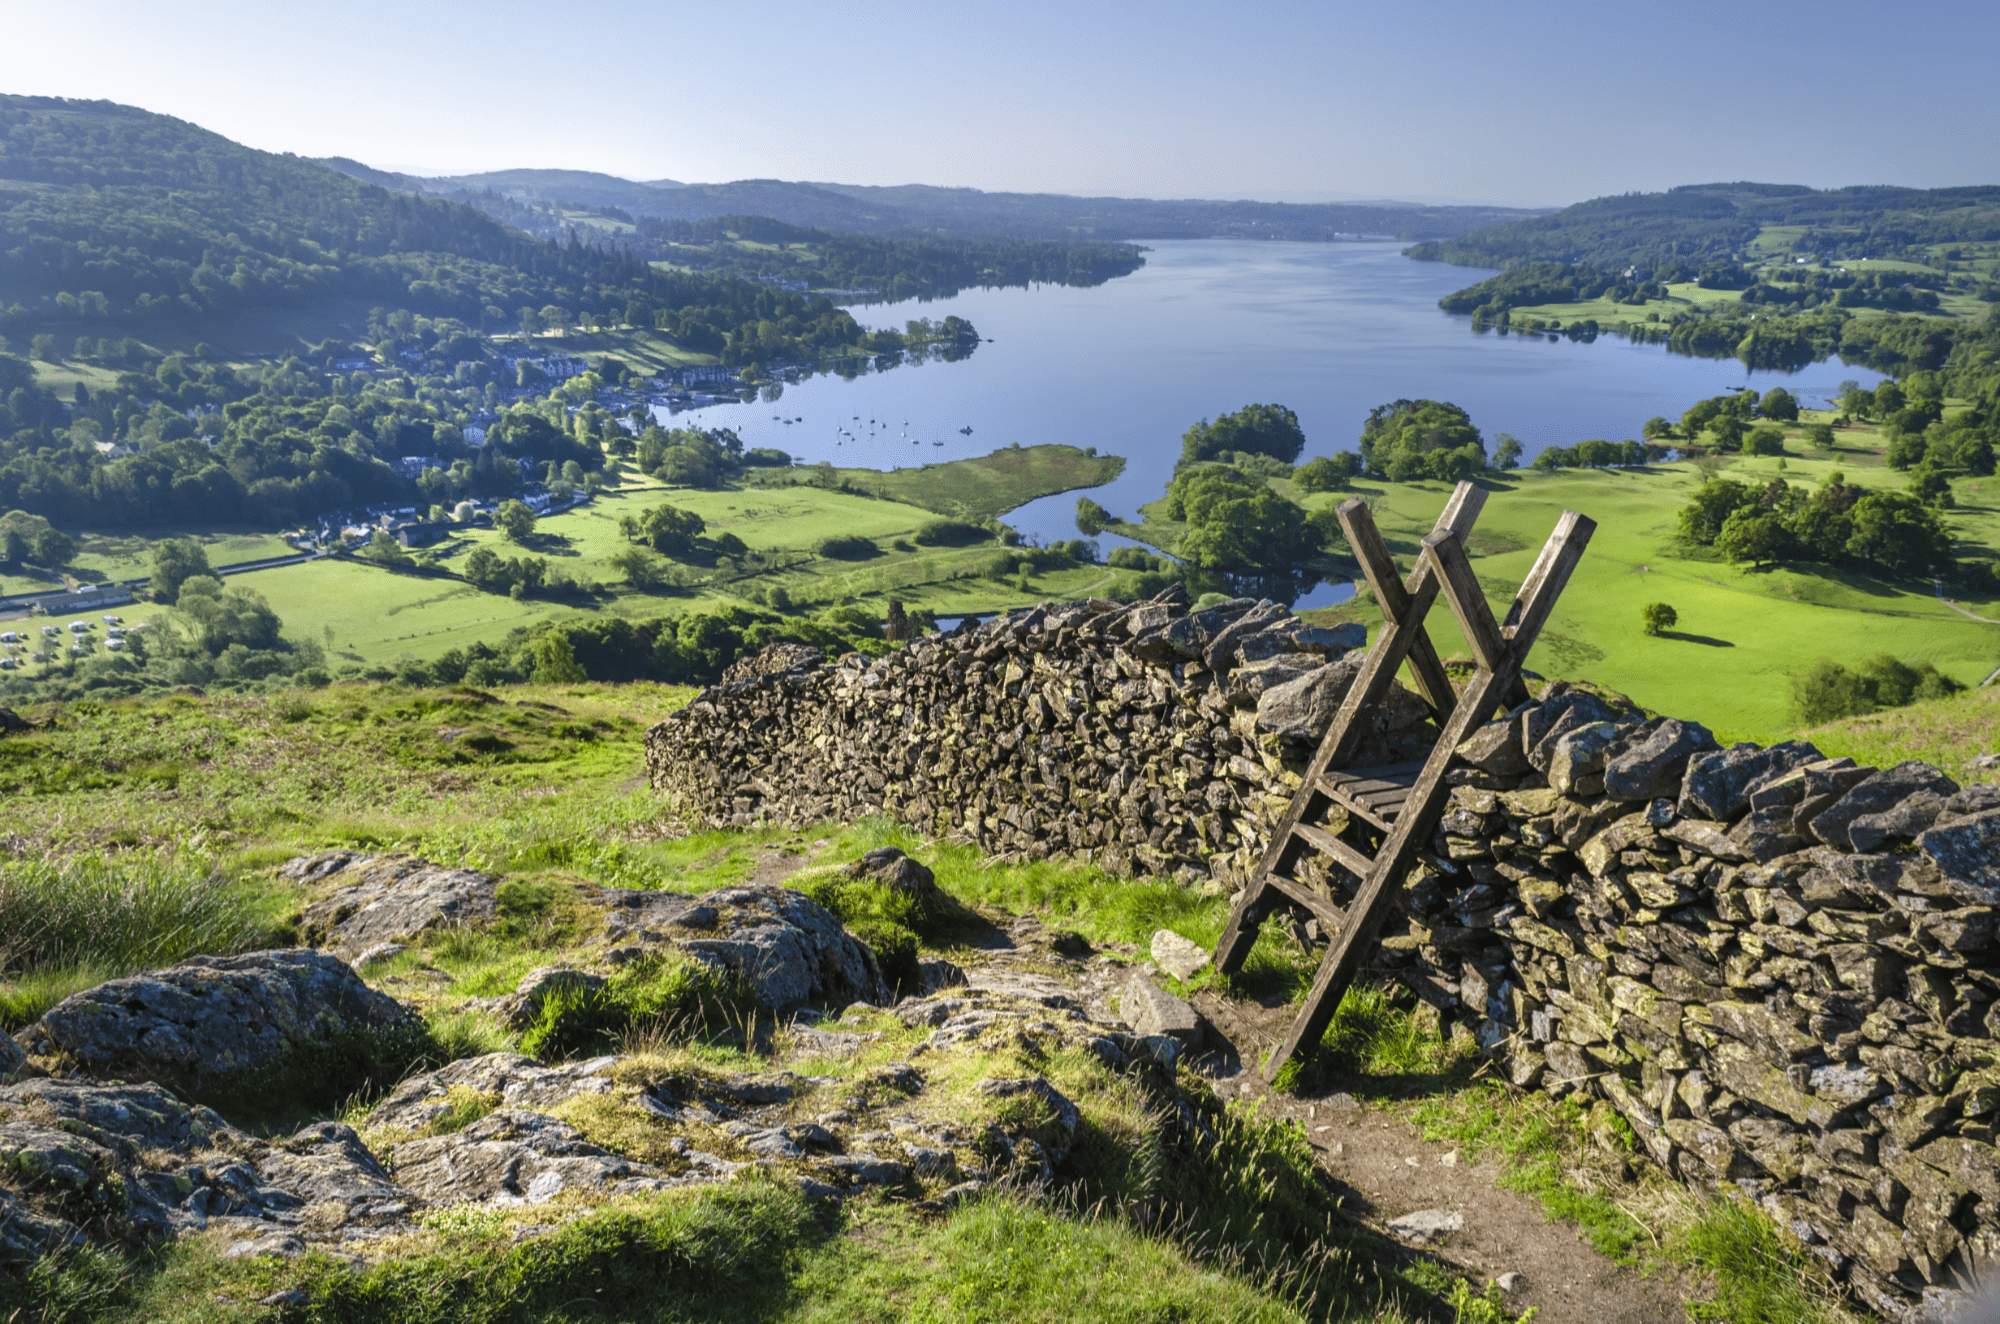
The simplest routes follow waymarked paths, such as National Trails marked with green diamonds. Green dotted lines on OS map show trails with rights of way, while black dotted lines show trails that may or may not be a right of way. Some of these will be permissive footpaths whilst others may not.
Draw or plot your route on the map. If using the OS Maps app you’ll get a running total of the distance as you plot the route, but if using a paper map you’ll need to use a ruler or piece of string to estimate the length.
You can get a fairly accurate idea of length by plotting your route to follow the path, but there will always be a margin for error where you have to detour around mud or find a safe crossing for a stream. If you can tell someone a rough time that you expect to return, they can keep tabs on your whereabouts just in case anything does happen or you get delayed.
4. Check for danger points
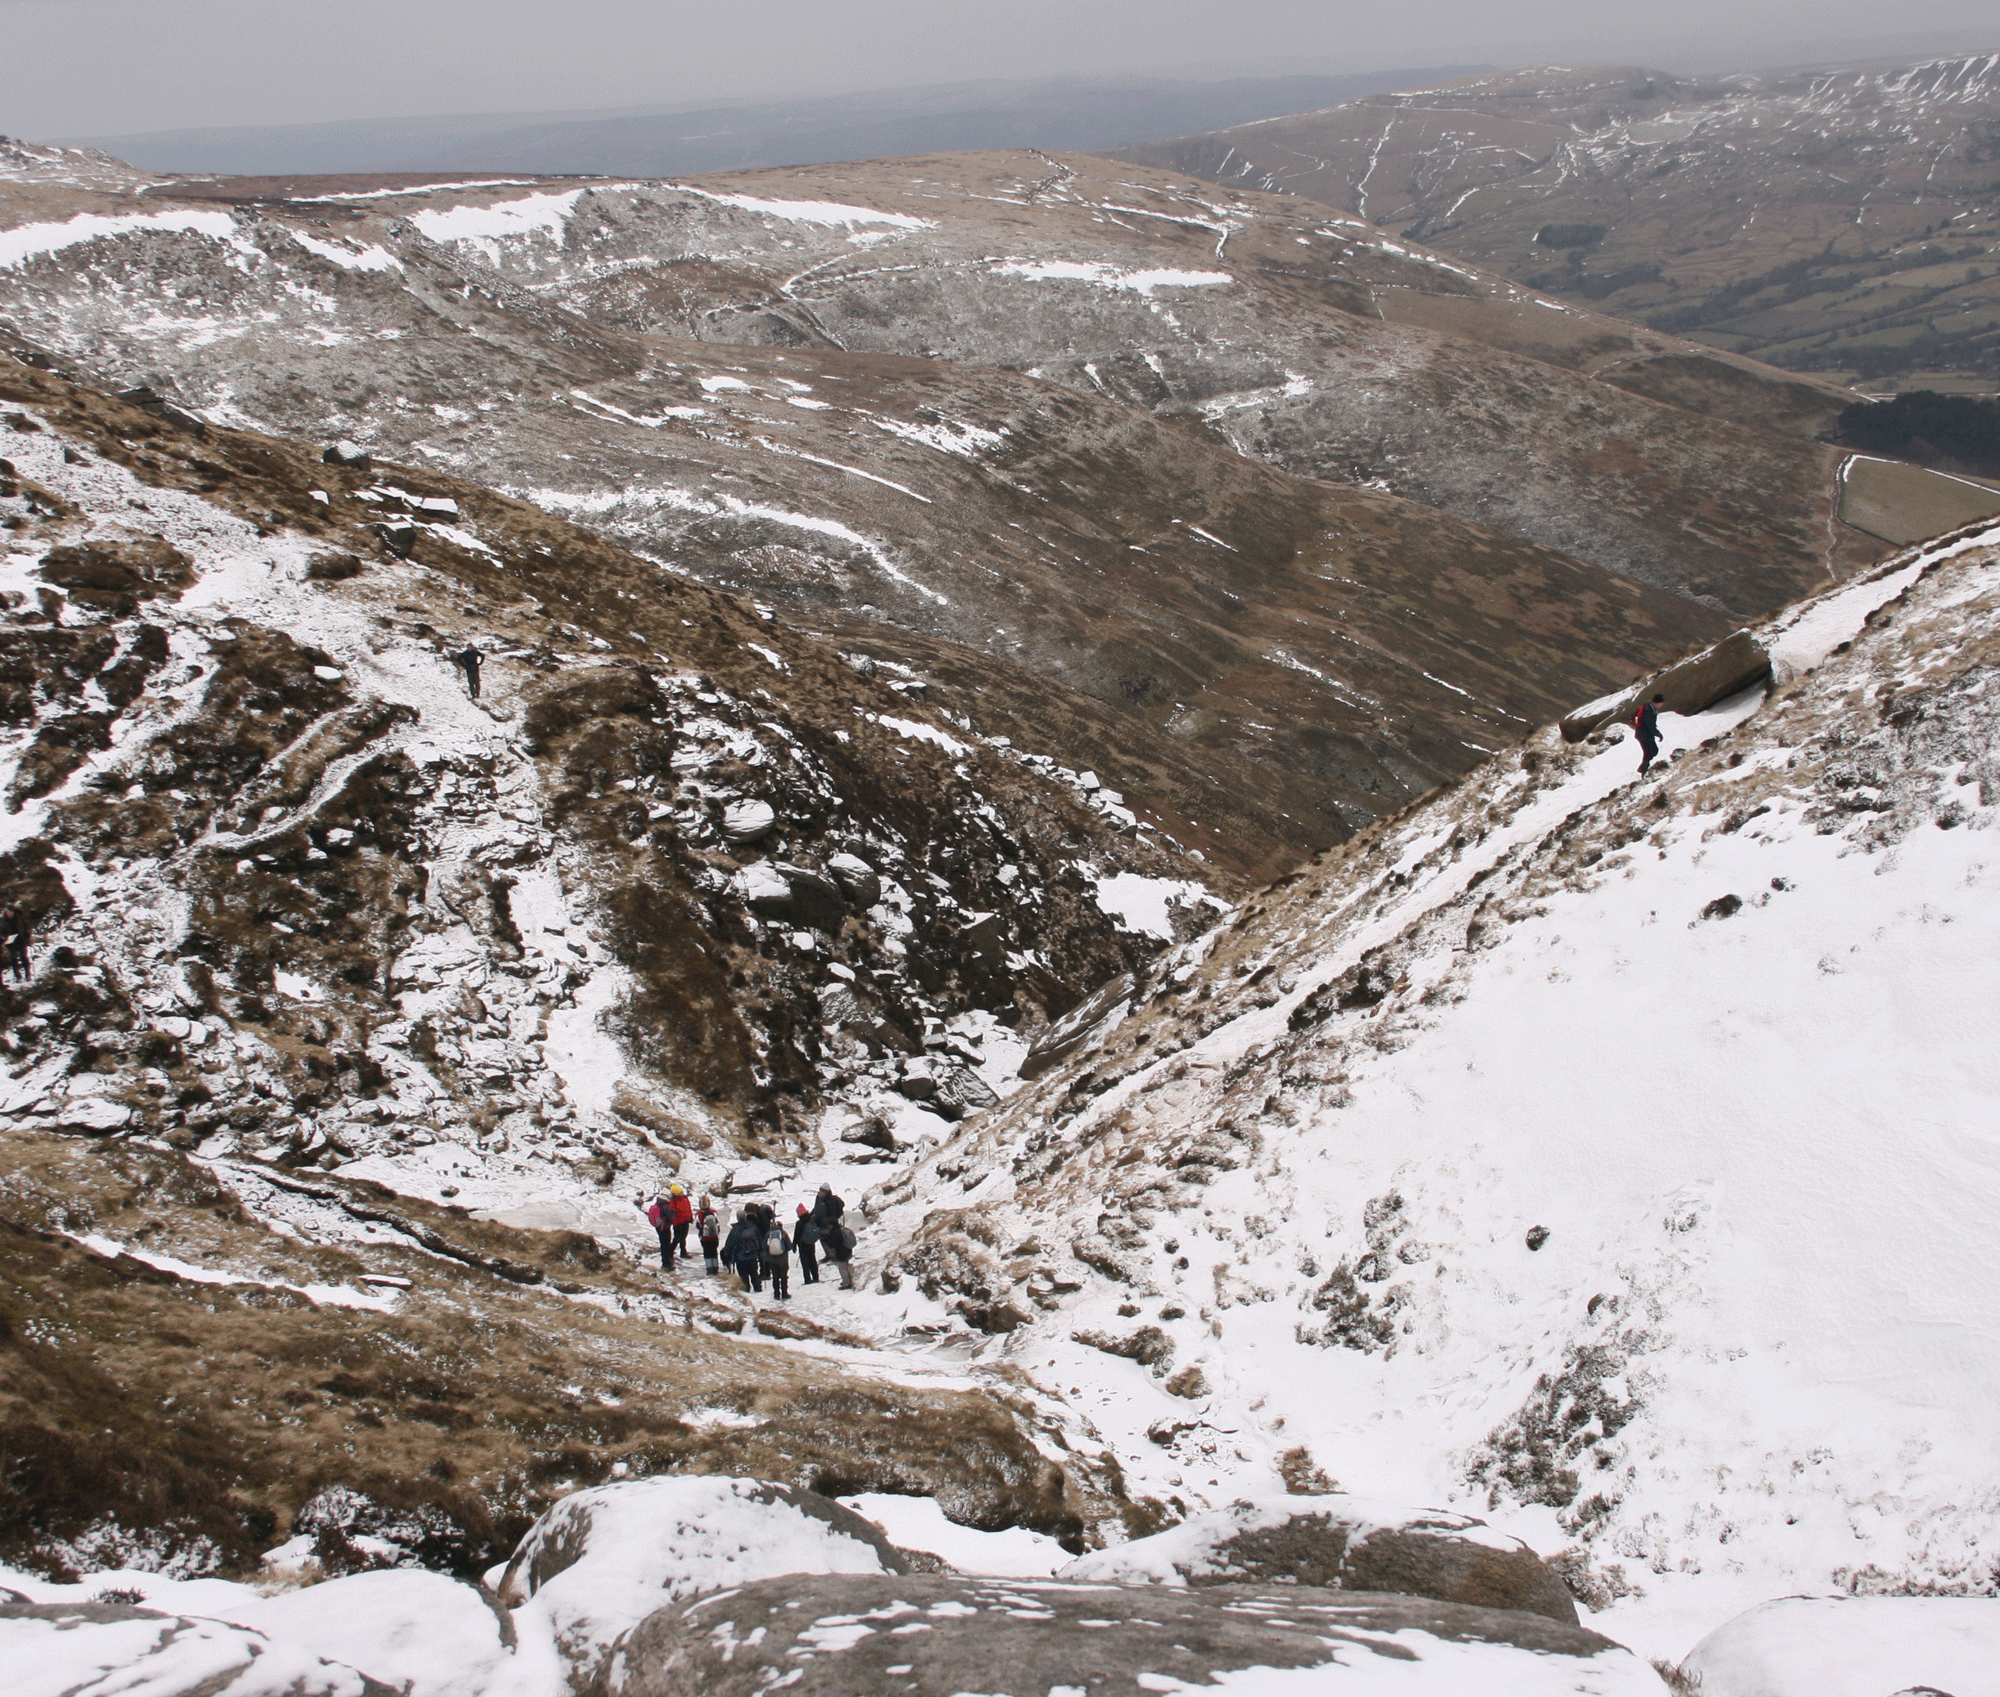
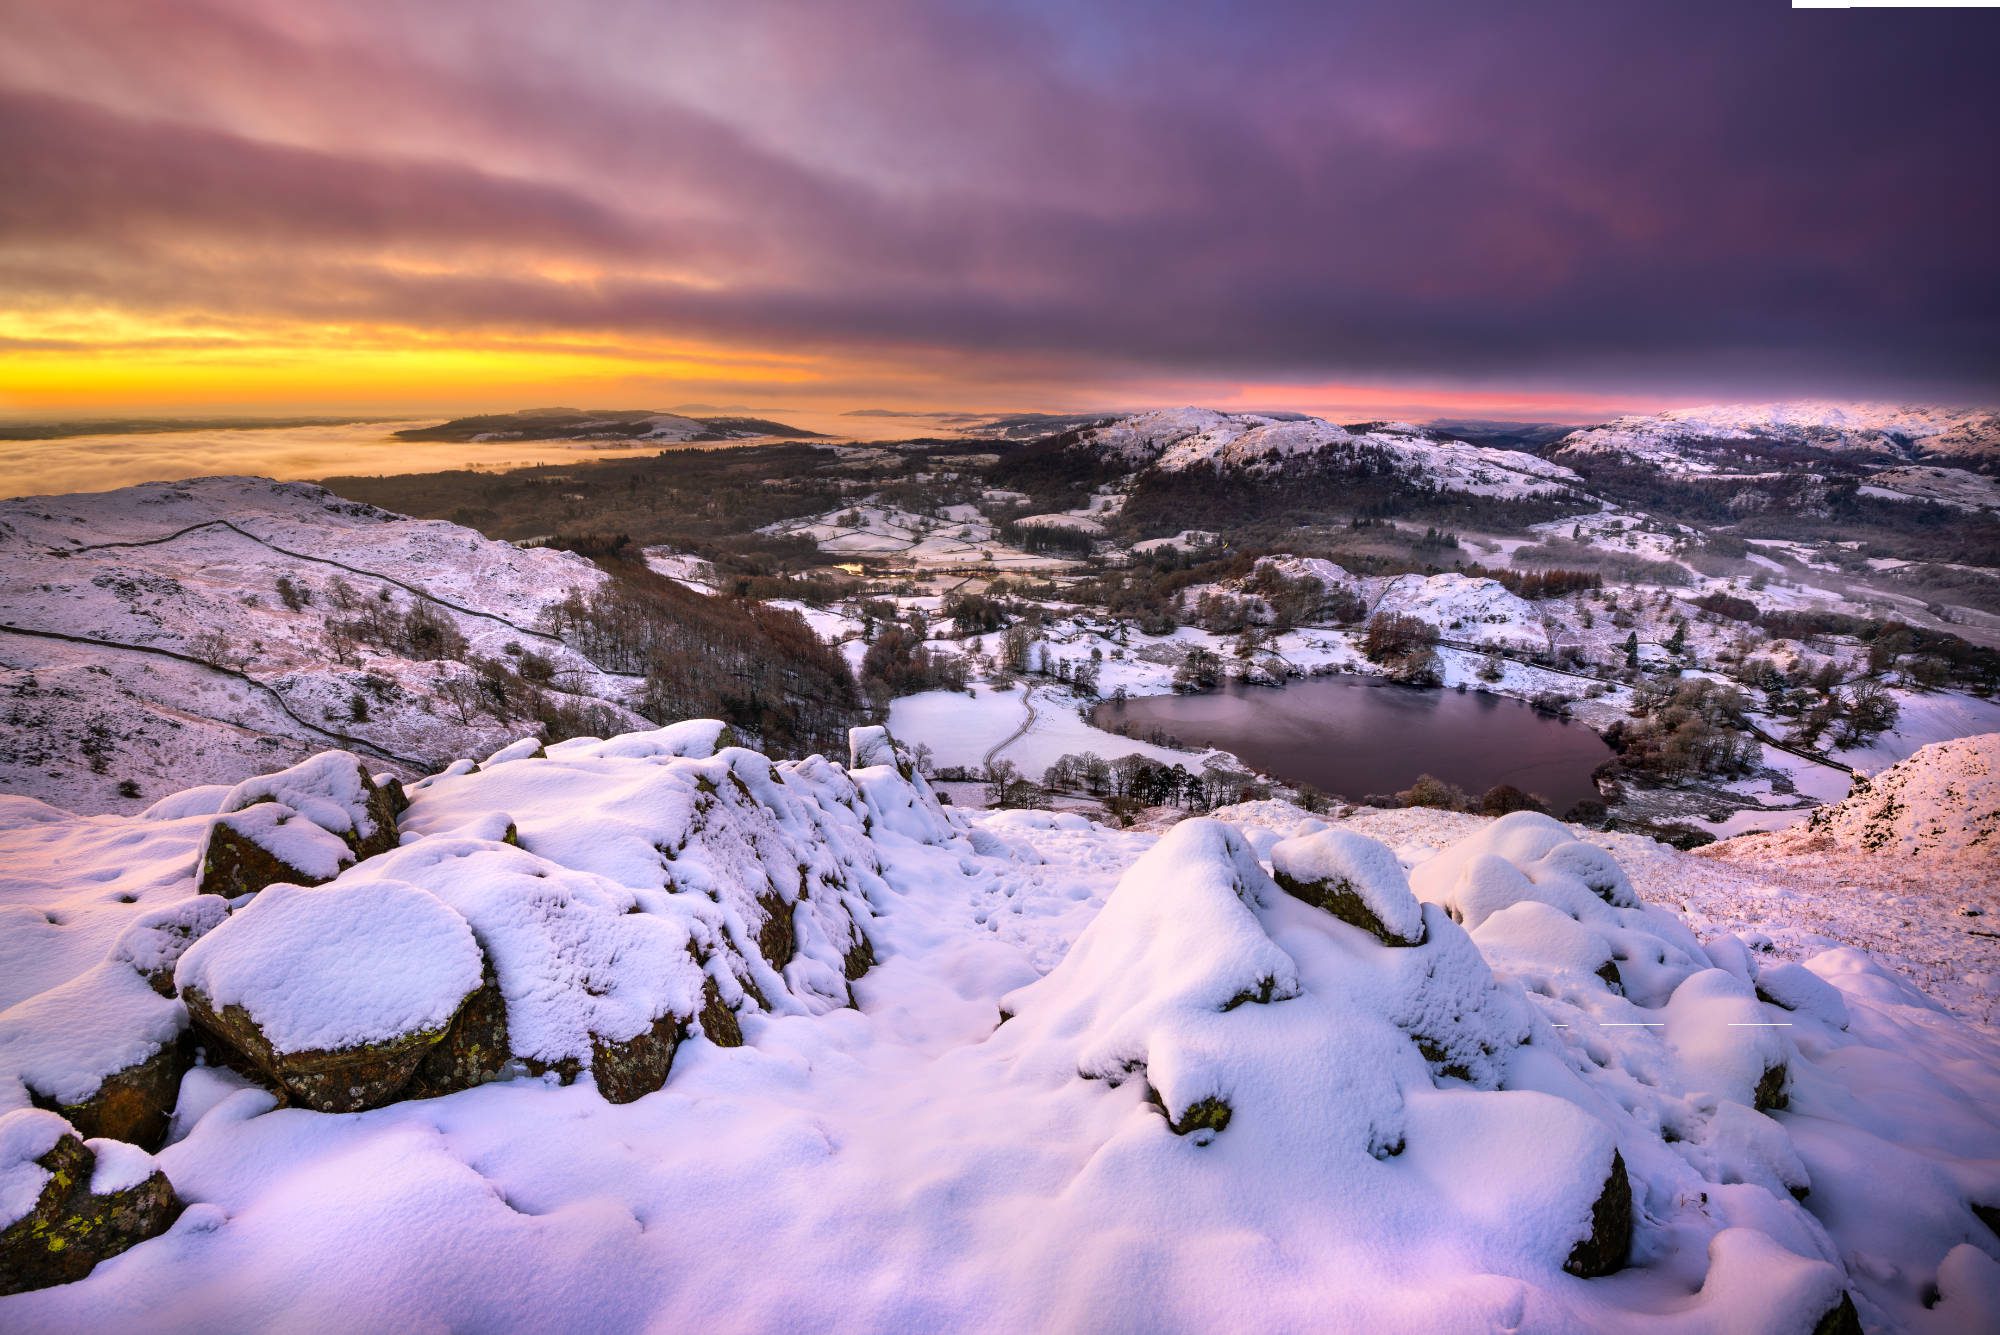
The safety of your route is going to be very weather-dependent. If possible, check the weather the day before so you can amend or re-plan your route accordingly. Also, don’t forget to check mountain forecast as the weather on the tops can be very different to the weather in the valleys. Pack crampons or ice spikes if you think the weather might make your hike more of a technical challenge.
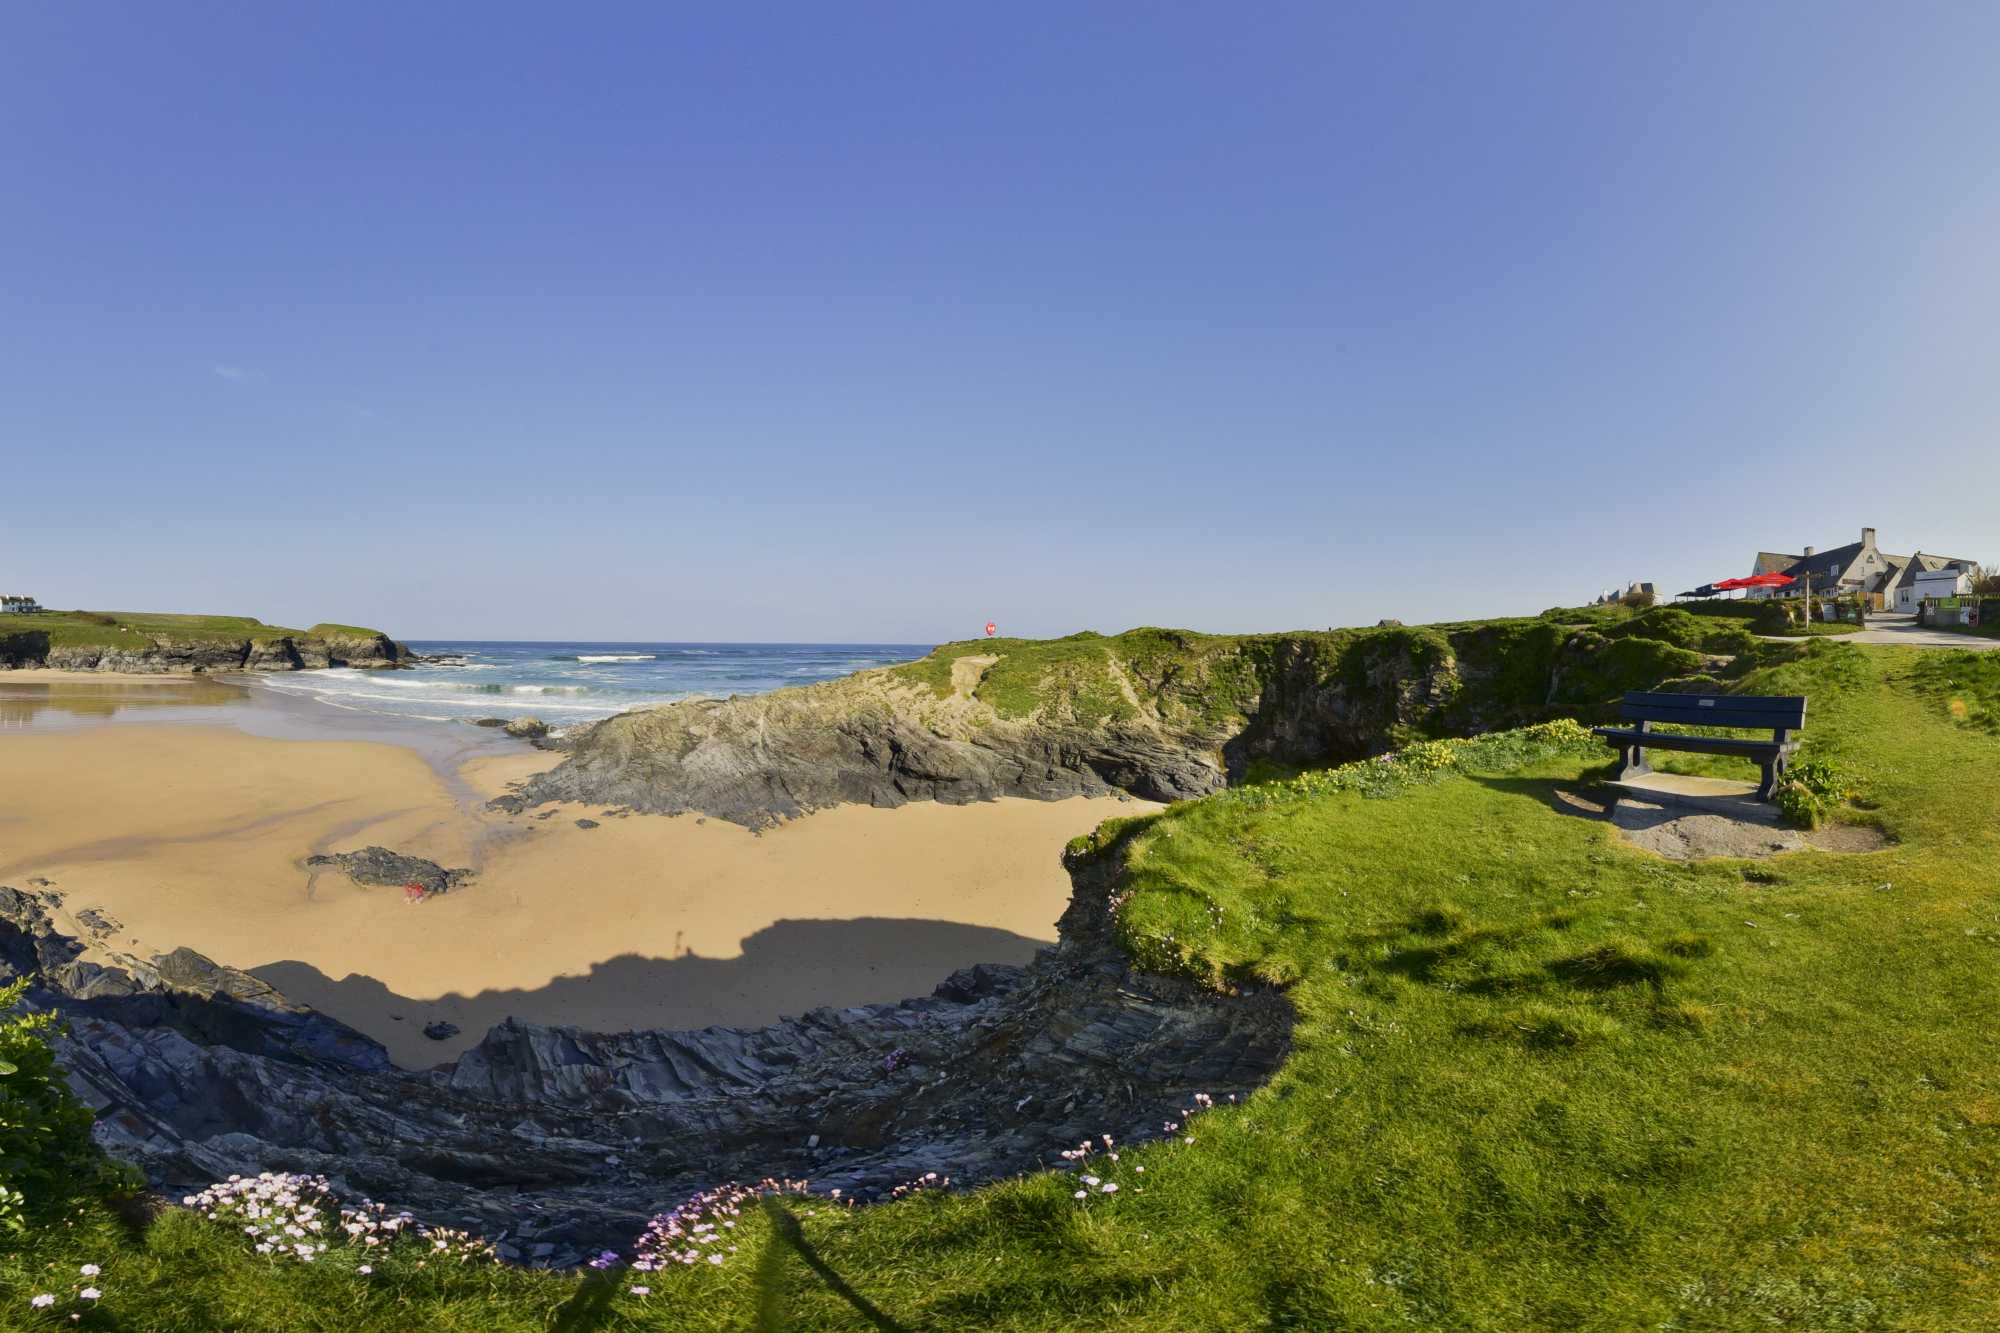
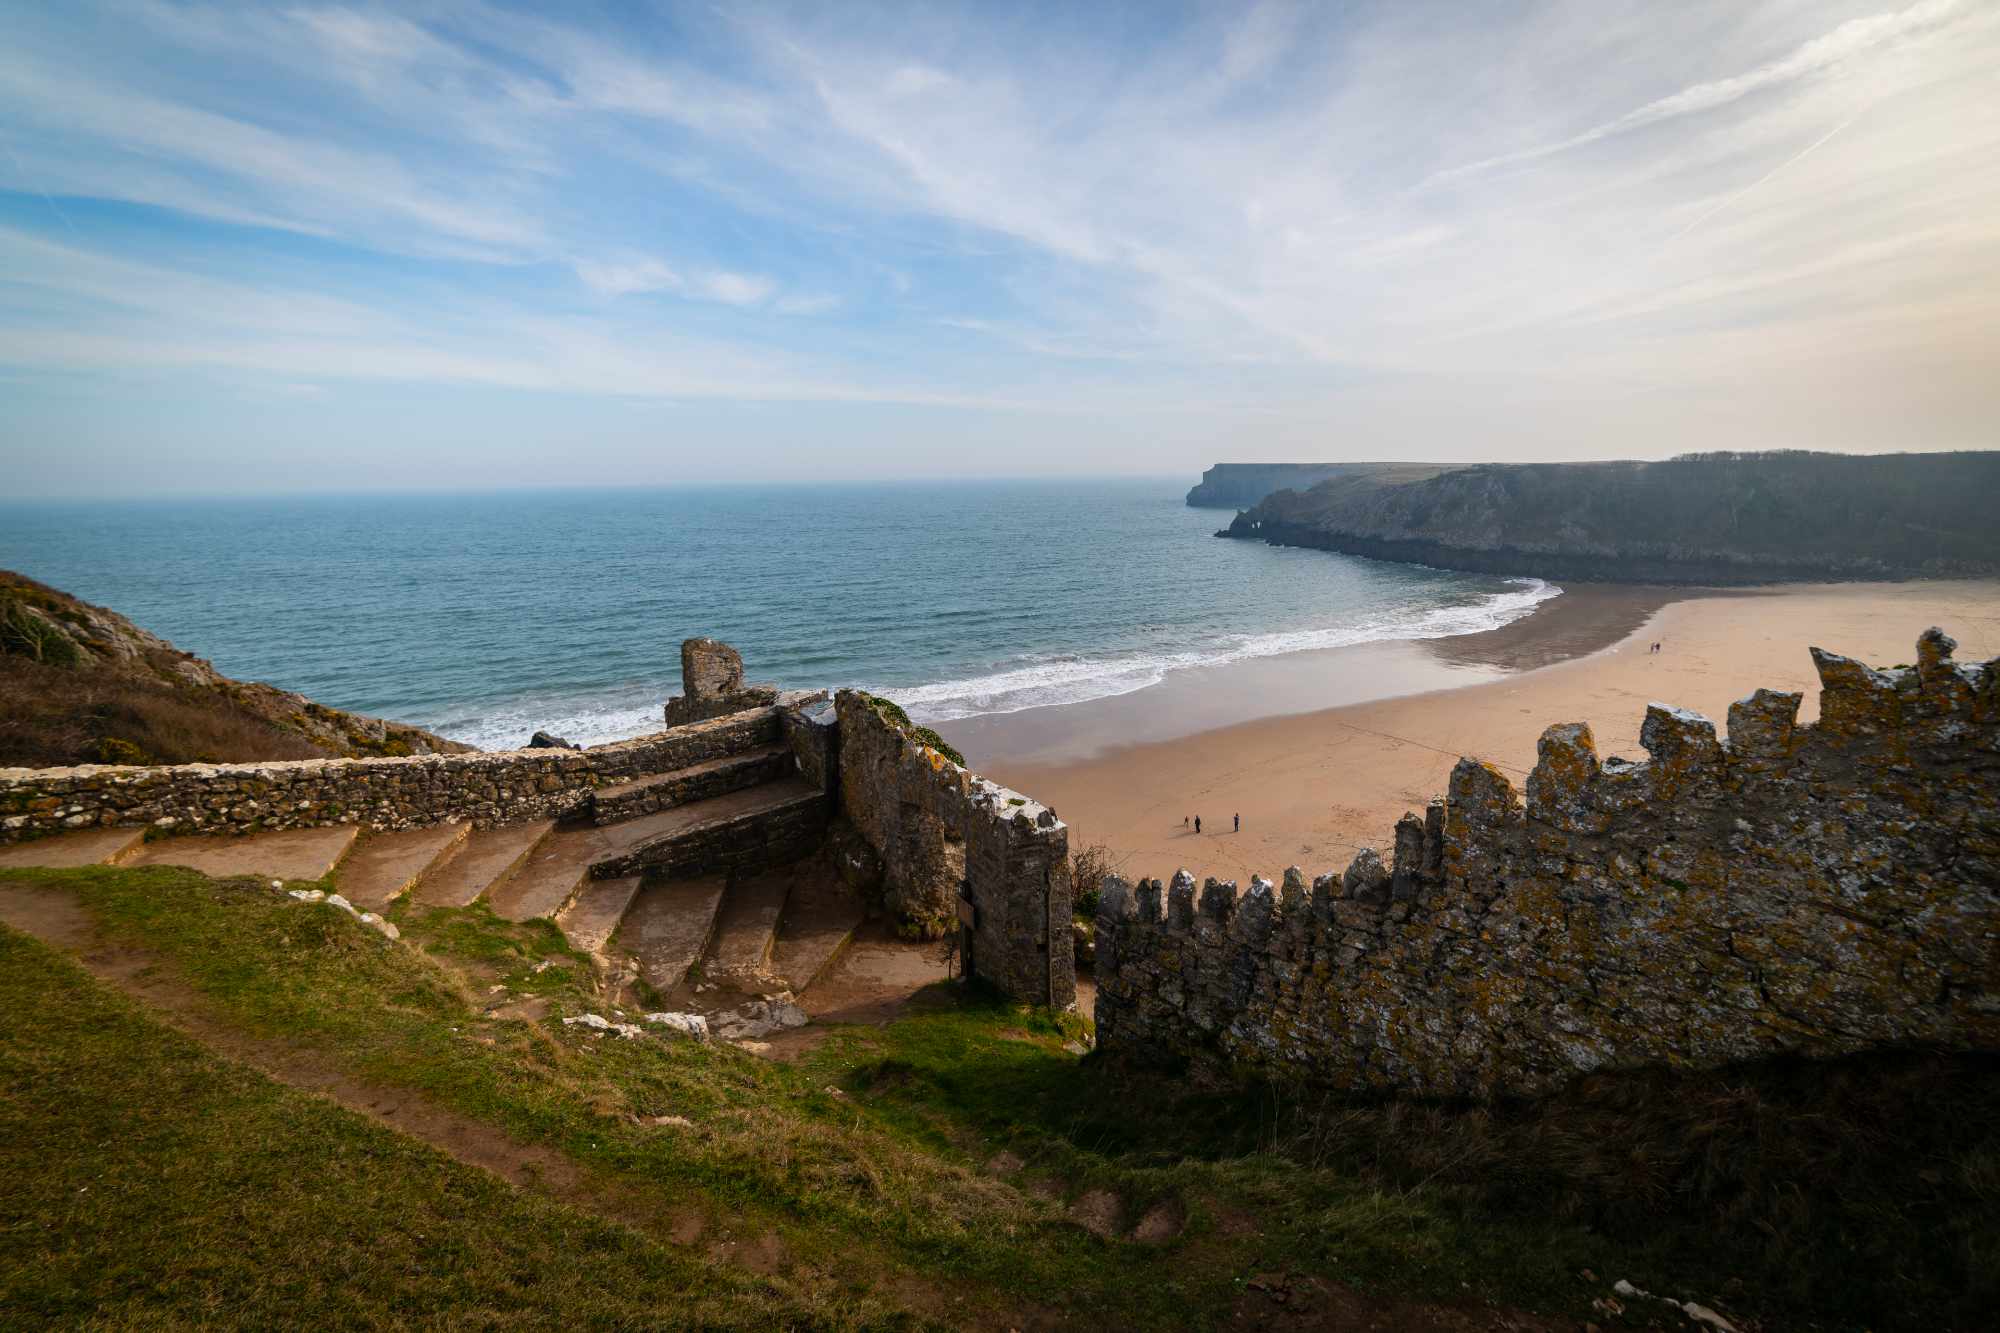
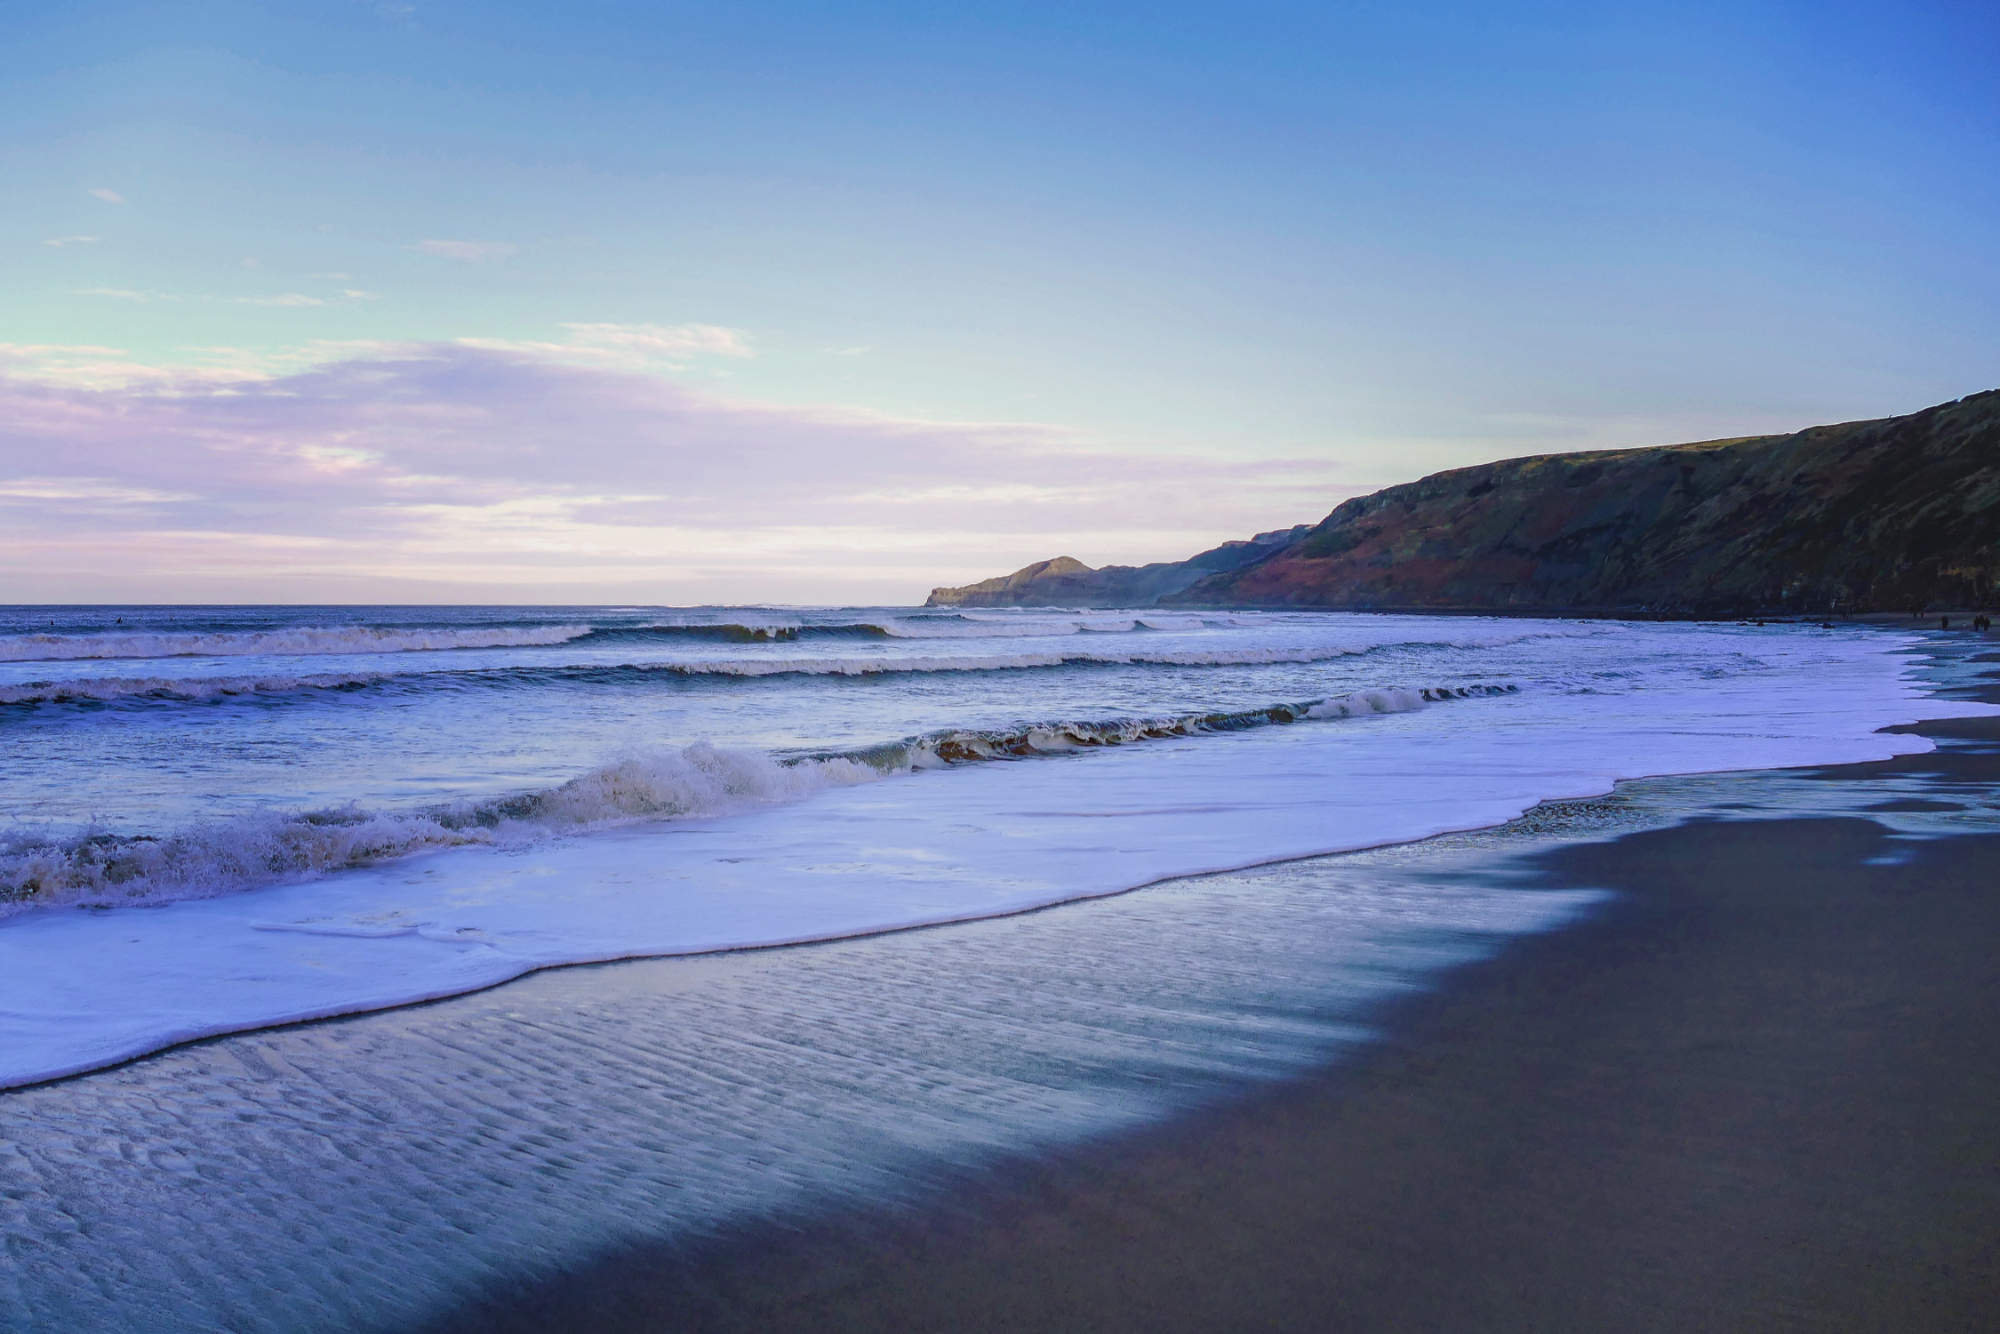
Also, check for roads and train lines, coastal dangers (be sure to check tide times) and steep slopes and altitude. Make sure too, that you have escape routes in mind, especially on longer routes or high-altitude walks. You can also plan an alternative route that allows you to continue but avoids exposed peaks.
5. Get going!
Now you’ve planned and prepared, it’s time to #GetOutside! Do a final weather check, and if you’re going on a route of any distance leave a copy of your planned route with family, friends or your accommodation provider, with the expected time of return. In the OS Maps app you can use the ‘share route’ function to share a copy of your planned route easily. Do a final gear check – oh, and don’t forget to lock the front door.
Written by Jon Elder, Ordnance Survey
Discover more about YHA.
_Danoz /Ievgen Skrypko / Adobe Stock